Niðavellir Shipyard

The Nidavellir Shipyard is a large UCM Shipyard hidden far away from any planetary system.
After the scattering of humans after the first Scourge attack many ships used their ftl drives and made an random Foldspace jump just to get away. Many of this ships found themselves alone in the dark, to close to a star or a black hole and perished but some made it to an empty place in space. And that’s how the Nidavellir belt was discovered. A collection of large rocks, asteroids in different sizes and collection of dust and sand. Exactly how this place come to be, far from any sun, placed in between systems is not known. It is believed it was created after an extremely unlikely collision of two larger celestial body, with no stronger gravity pull in the vicinity this collection of minerals and rocks have held together by their own combined pull of each other. The scatter of large rocks and the natural background radioactivity have created a hiding place. After the survivors made contact with the now formed UCM the area have been put to good use.

Named after the Norse mythology Nidavellir, the world of the dwarves, for its rich mineral and metal resources. Perfectly for foundries and a large shipyard complex.

This is the place to produce ships...


Tuesday 22 August 2017

Dropfleet Commander AAR, UCM vs PHR

Here are a short AAR from my second game of Dropfleet Commander and again against my friend Filips PHR.
We got a little more  brushes of paint on the miniatures since last game and we managed to read some more in the rulebook which did speed up the game.
I know we missed some rules but we are slowly getting better and didnt have to flip the rulebook as much as last time.


UCM fleet moves out...

The PHR close in on the humans.


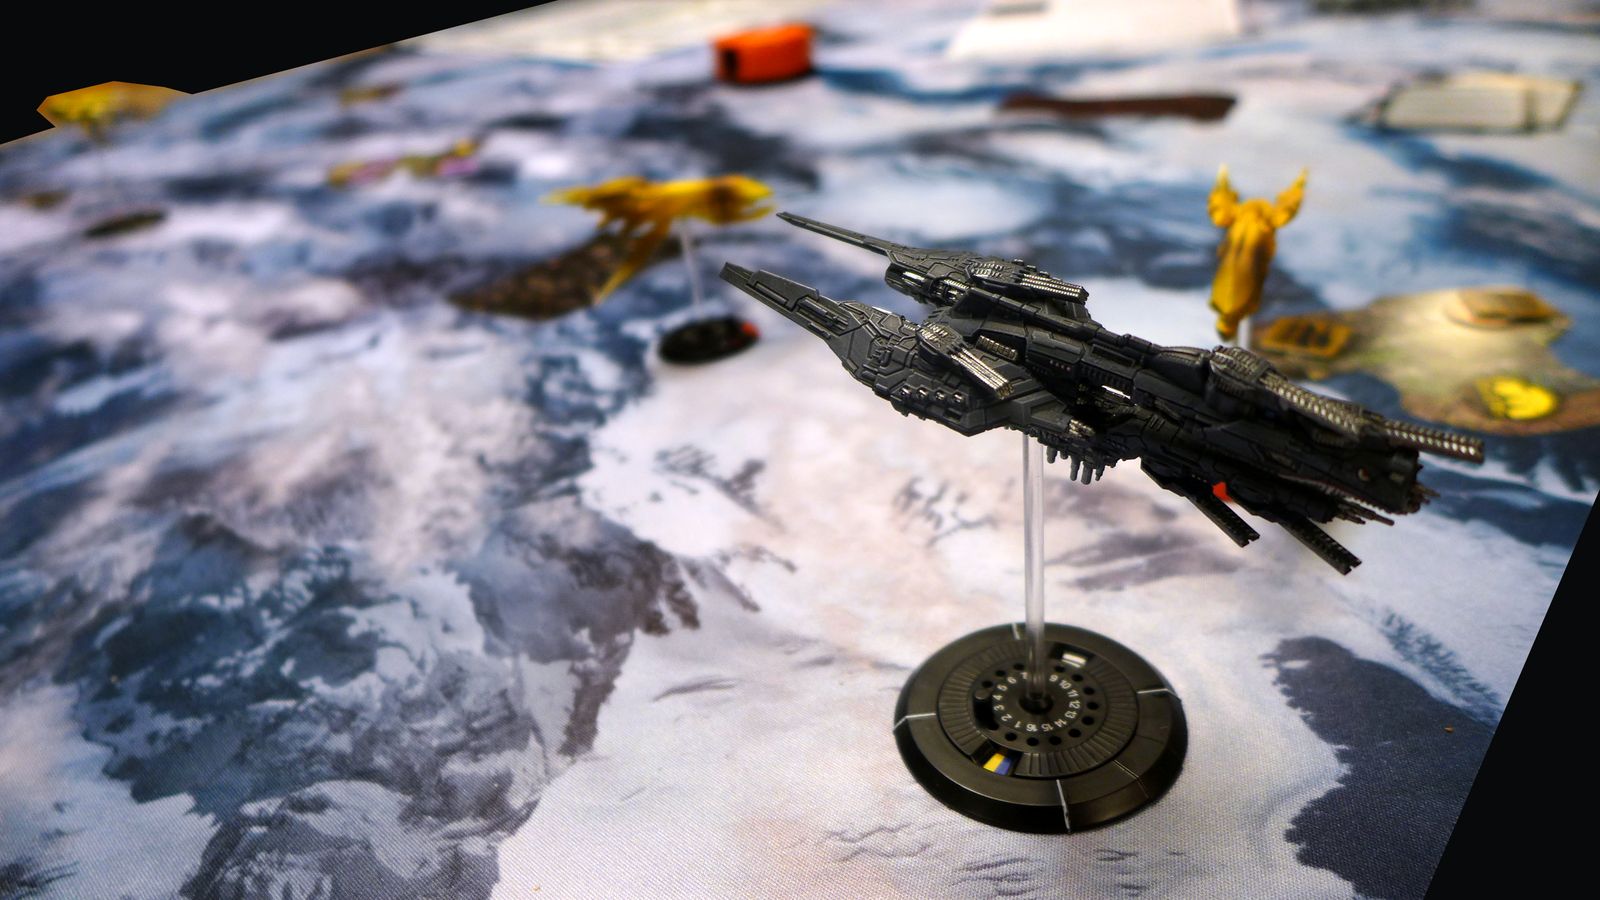
My Berlin class cruiser and its two Toulouse frigate escorts.
A better picture of the nose art at the end of this post.

My New Orleans close in on the middle cluster to deploy troops with the Berlin and the two Toulouse in close behind, the Moscow class heavy cruiser sneaks behind some debris and the Seattle class carrier closes in.
Enemy deploys fighter protection but I elect to send bomber squadrons against a bigger ship.


A closer look at my Seattle class carrier, its still work in progress but the "Battlestar Galactica" symbol can be seen. :)


The Moscow closes in...

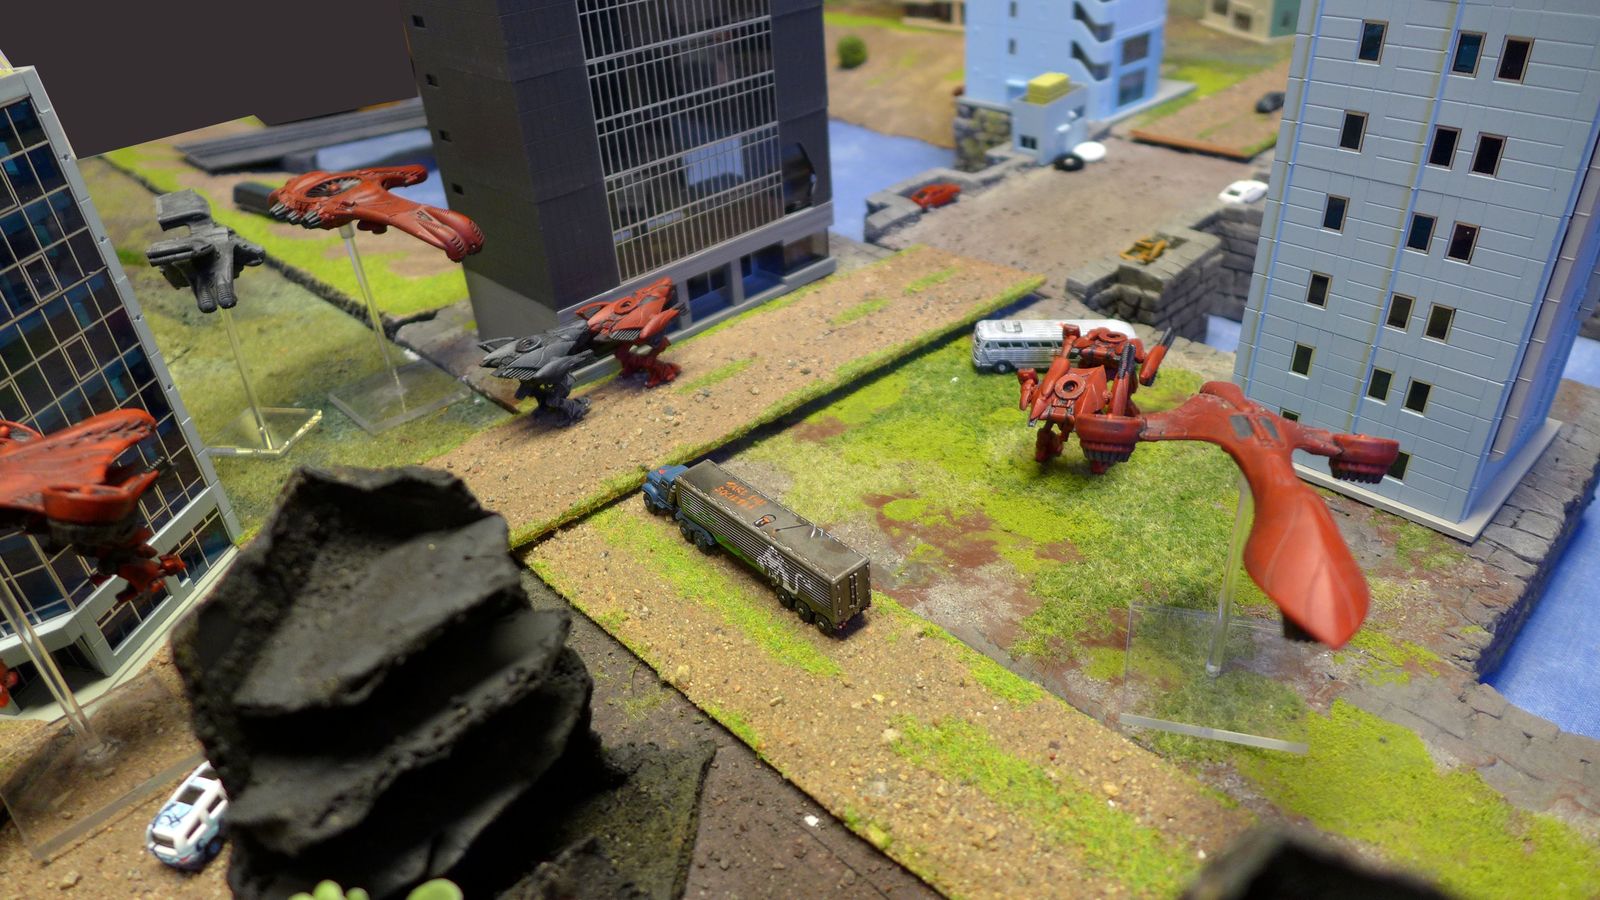
 Ships are getting ready to deploy ground troops...

Enemy deployed a armoured formation so I elected to deploy an armoured formation on my own as well as infantry in another sector do capture the military base with its guns so I can shoot at enemy spaceships from the ground...

I played way to aggressive with my Seattle and the PHR used this to take her down. My Moscow had instead moved to far and she moved past the PHR faster then I would have liked with all those big guns...
This would be the theme of this game, the Moscow was constantly badly placed


The Berlin finishes of the already damaged enemy heavy cruiser.

In the fight on the ground my tank formation was triumphant and I actually managed to take out the enemy ship, granted it was badly damaged before but still...
So a total success at the middle sector.


The Berlin goes down burning...

The Moscow class heavy cruiser totally dominates the space above the sector with its massive tonnage, giving me the points for the aerial control.


And here I did something wrong... I deployed troops after moving full speed with a special order. You can only deploy assets if you are able to shoot with guns but the movement special order stops you from shooting that turn.
I would still have the aerial control with the New Orleans resulting in a victory, but just.

A small small victory for the UCM, huzza...


Here are some work in progress pictures of my UCM fleet.


Moscow class heavy cruiser with "tiger mouth" nose art.

Berlin class cruiser "Hot Babe" in the middle.
The Seattle class carrier got the "Battlestar Galactica" logo painted in read on it.


Tuesday 8 August 2017

Dropzone Commander AAR, Shaltari vs PHR


Some weeks ago I played a game of Dropzone Commander with my friend Stefan, it was really ages since I played this game and with my Shaltaris since last time so it was good to dust of the miniatures.

We played the Survey and Control scenario.
I wanted a little different table so I forced Stefan to play on a board with a big river across the table. With skimmers and dropships this should really not be such an obstacle and be a nice touch.


I didnt want to take to many risks with gates being so expensive nowadays so I think I started to move a little to safe early in the game.
The PHR (Post Human Republic) was much quicker then me gathering up objective points from buildings and I would have to kick in another gear in an attempt to close in on him.
I had deployed a unit of Firebird gunships and dropped a concentration of heavy walkers to really pommel the enemy. 

Those Firebirds were really nasty, as the heavy walkers took out enemy AA the Firebirds were given free range with their close range shooting and damn... these are sooo much better then the other variants of the gunship its not even funny...

I used some sneaky Shaltari redeployments shenanigans and had a Jaguar all of the sudden on the non contested bridge. I failed to take advantage of this little push and my smaller gates didnt advance aggressively enough to really deploy infantry to search troughs the buildings on the opposite side of the river.

In the end my opponent had taken grievous losses and I only slight but he had captured more points from the buildings. 


On the flank with the smaller bridge I managed to defend my bank and thus could control a Focal Point giving me some much needed points.

In the last moment I managed to use a small Haven gate to contest a Focal Point I had failed to contest with military vehicles.

12-12 in VPs, PHR have more Intels. Shaltari are controlling one FP uncontested! PHR controlling another FP but Shaltari are contesting it with Havens!

A good game of Dropzone Commander, they usually are...


Shaltari moves out.
Infantry search buildings, the Firebirds hides behind a building as the heavy walkers starts to deploy.


My heavy firebase of walkers. Looking down the bridge with the enemy on the other side.


 Jaguar heavy walker redeployed through a gate.

 Firebirds moves out...

Enemy infantry storms the bridge and the pumping station searching for intel.

 The PHR uses a command card to protect his hq from the Shaltari gunlines.


The Shaltari in the river is actually inside the small house on the bridge searching through the basement and the underside of the bridge for intel.
I had made a sneaky move of moving in infantry to all the building close to it to hinder the enemy enter any of them without giving me a chance to take them out.

 One Jaguar heavy walker is taken out.


 A small Haven gates uses the river for protection and manages to keep itsealf inside the range for contesting a Focal point.